The RAM(Random Access Memory) is used to run the applications on the computer. Whenever you open a program, it loads on the computer’s memory(RAM). The more RAM installed on the computer, the more application you can run at once.
You can check the usage of the RAM on your computer, and which program is consuming how much RAM you can check that also.
Check RAM usage on Windows 10
STEP 1: Open the Task Manager of the Windows 10 computer. You can open the Task Manager in three different ways.
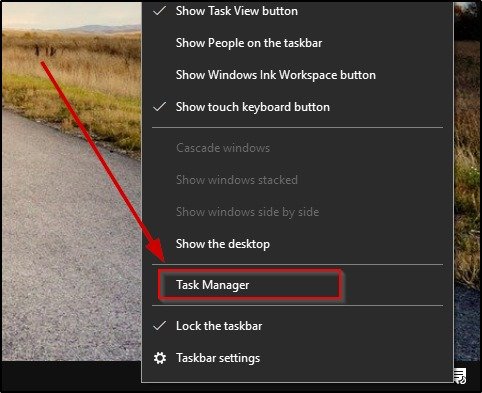
- Right-click on the Taskbar and select Task Manager.
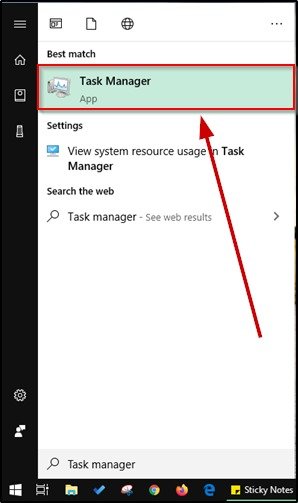
- Search for Task Manager on the Windows Search.
- Or, you can open the Task Manager by pressing the CTRL, ALT & DEL buttons together, and select Task Manager on the window.
STEP 2: On Task Manager you can see the total RAM usage with the label Memory. And on the list below you can check which program is consuming how much memory. You can close a program on this window. To close a program select the program and click on the End Task button at the bottom right of the window.
Normally Windows 10 has some default program that starts running from booting of the computer. Not all the startup programs are required to run, you can disable unnecessary programs on startup. See this guide to disable startup programs at the startup.

You can not disable some core Windows programs at startup, these programs run after the boot completes. You also can disable these programs to speed up the performance of the computer. You can use an application (ShutUp10), using this you can disable the core Windows 10 programs which you feel is not necessary. You will see some recommended settings on ShutUp10, which you can apply without any risk. Check this out.
To know more about the RAM and its usage you can check on the Performance tab. Under the Performance tab click on the Memory and there you can see more details about the RAM.

Check RAM type (DDR3 or DDR4) on Windows 10
To check RAM type(DDR3 or DDR4) on a Windows 10 computer open Task Manager and go to the Performance TAB. Under the Performance tab select the Memory option on the left side. There on the top right of the screen, you can see the RAM type.

Or you can install CPU-Z to see more details of the RAM, and details of the other hardware installed on the computer. After installing open CPU-Z, on the Memory tab check the type of the RAM.

Check RAM manufacturer in Windows 10
You can check the RAM manufacturer from Command Prompt or using the CPU-Z application(third party application).
To check the manufacturer on Command Prompt, open the Command prompt and type wmic memorychip get manufacturer . It will return the manufacturer on the Command Prompt.

Another way to check the RAM manufacturer is using the CPU-Z application. For this, first, you need to install the application. On the CPU-Z application go to the SPD tab. There you can see the manufacturer under the label Model Manuf. If you have more than one RAM installed on your computer, then select the slot to see the manufacturer for the other RAMs.

Having passed the long way from a database analyst and computer technician to an executive in charge of a large enterprise department's technical direction, he now uses his experience and the almighty power of the Internet to teach, inspire and empower young people and mature to extend their technological skills.
- Convert Multiple Images to Text using OCR using Python - November 10, 2023
- How to use WhatsApp on Android Tablet (Simultaneously) - September 1, 2022
- How to Cancel PayPal Subscriptions (recurring payments through PayPal)? - June 28, 2022


